Documentation Index
Fetch the complete documentation index at: https://makeswift-sasha-eng-8460-create-a-guide-for-troubleshooting.mintlify.app/llms.txt
Use this file to discover all available pages before exploring further.
The feature is deeply integrated with Next.js’ internationalization
features.
Getting started
Add locales in the Makeswift builder
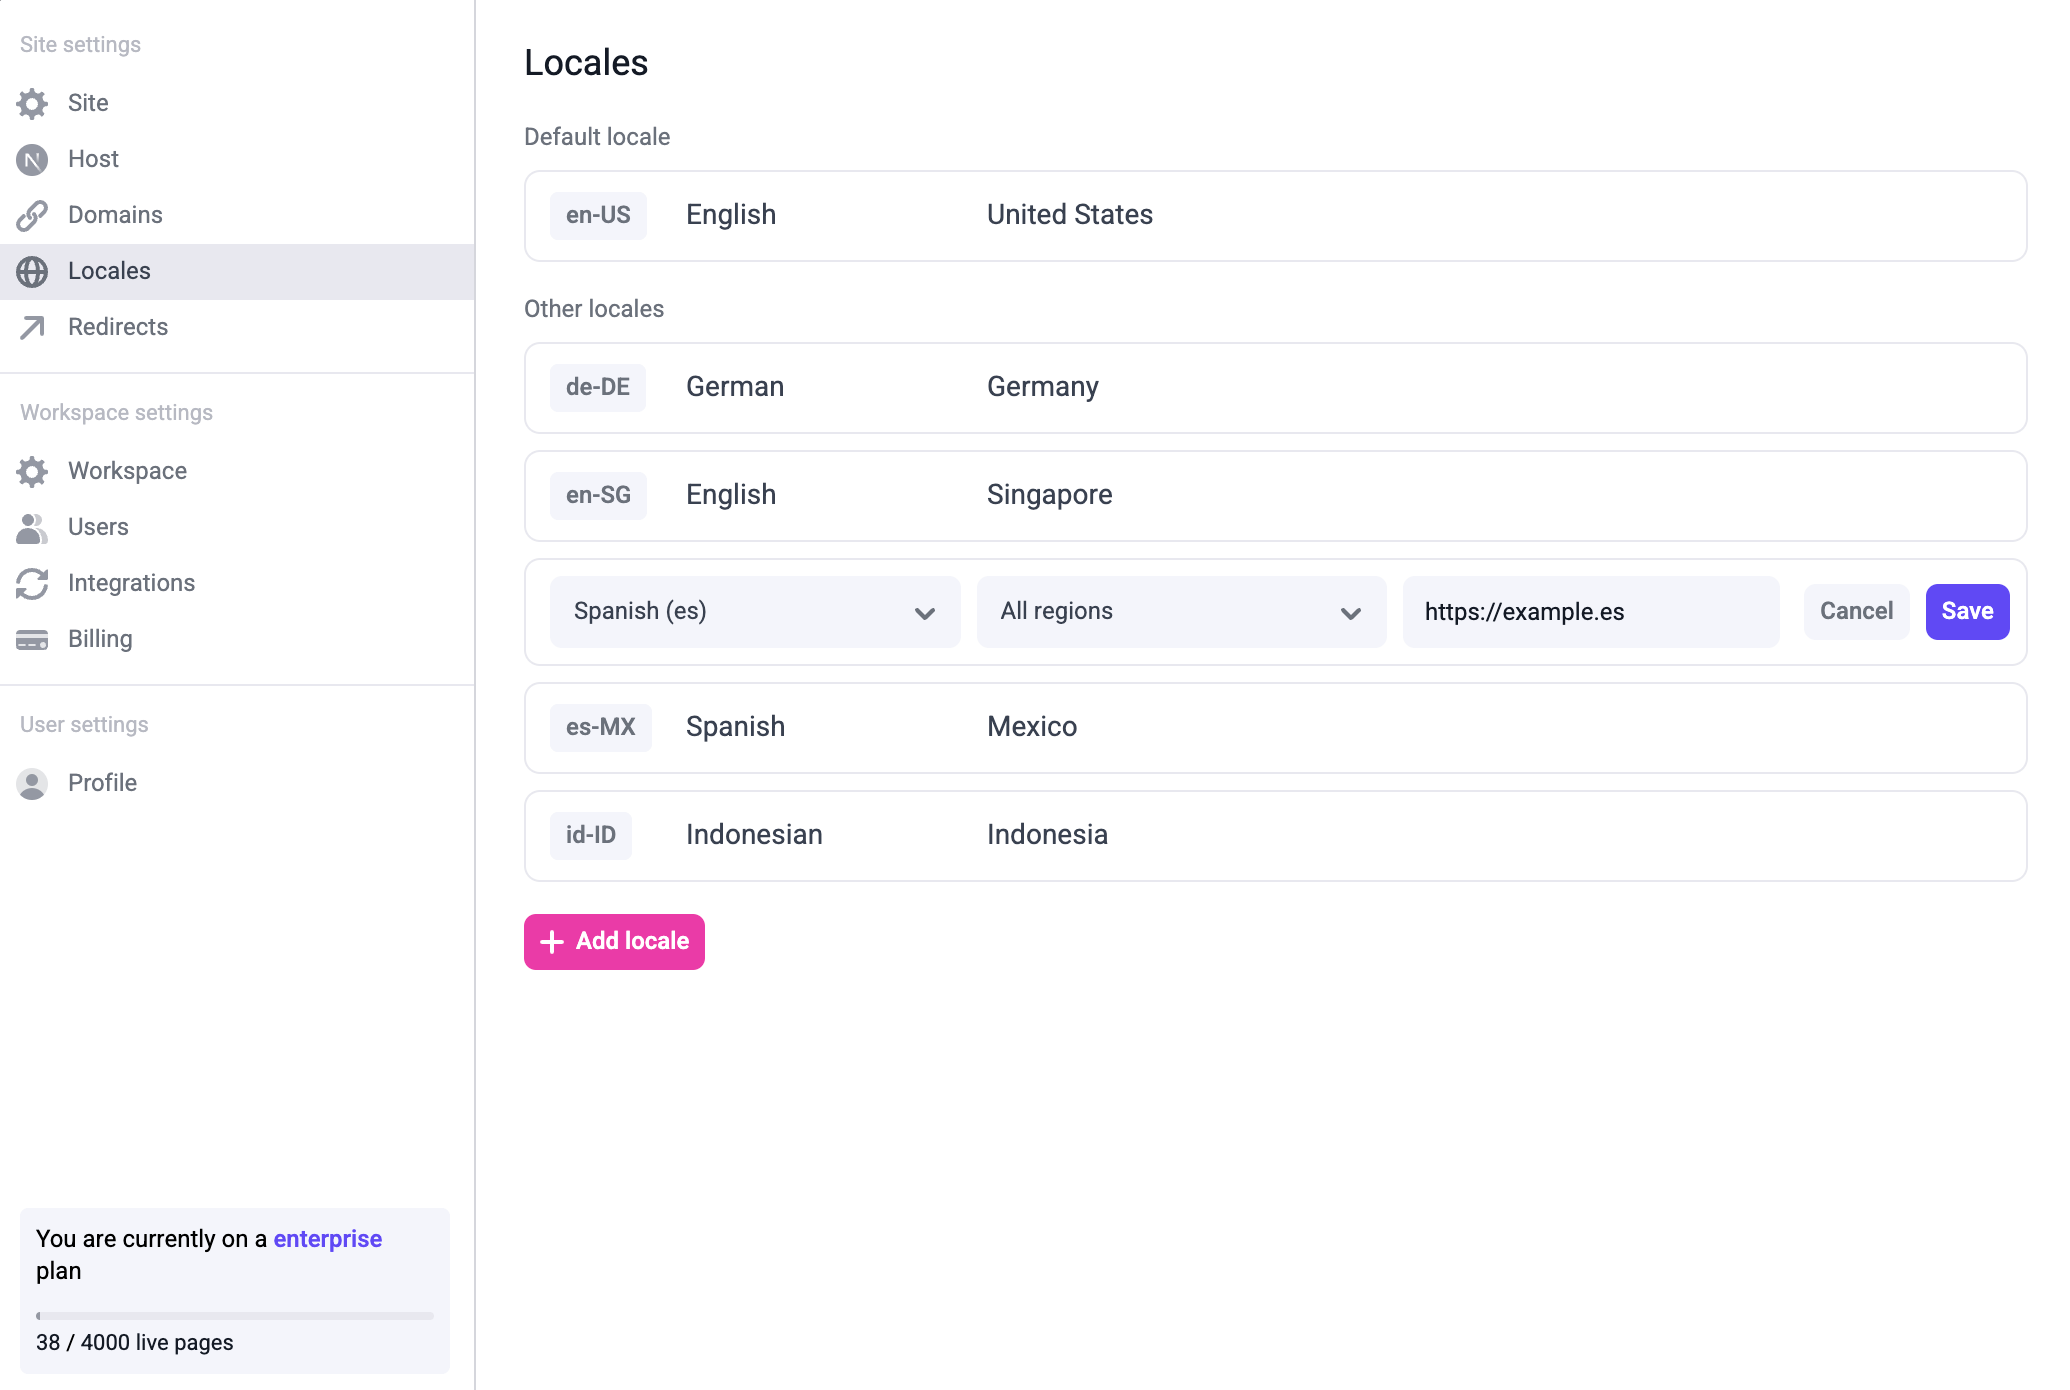
Open site settings and go to the “Locales” tab: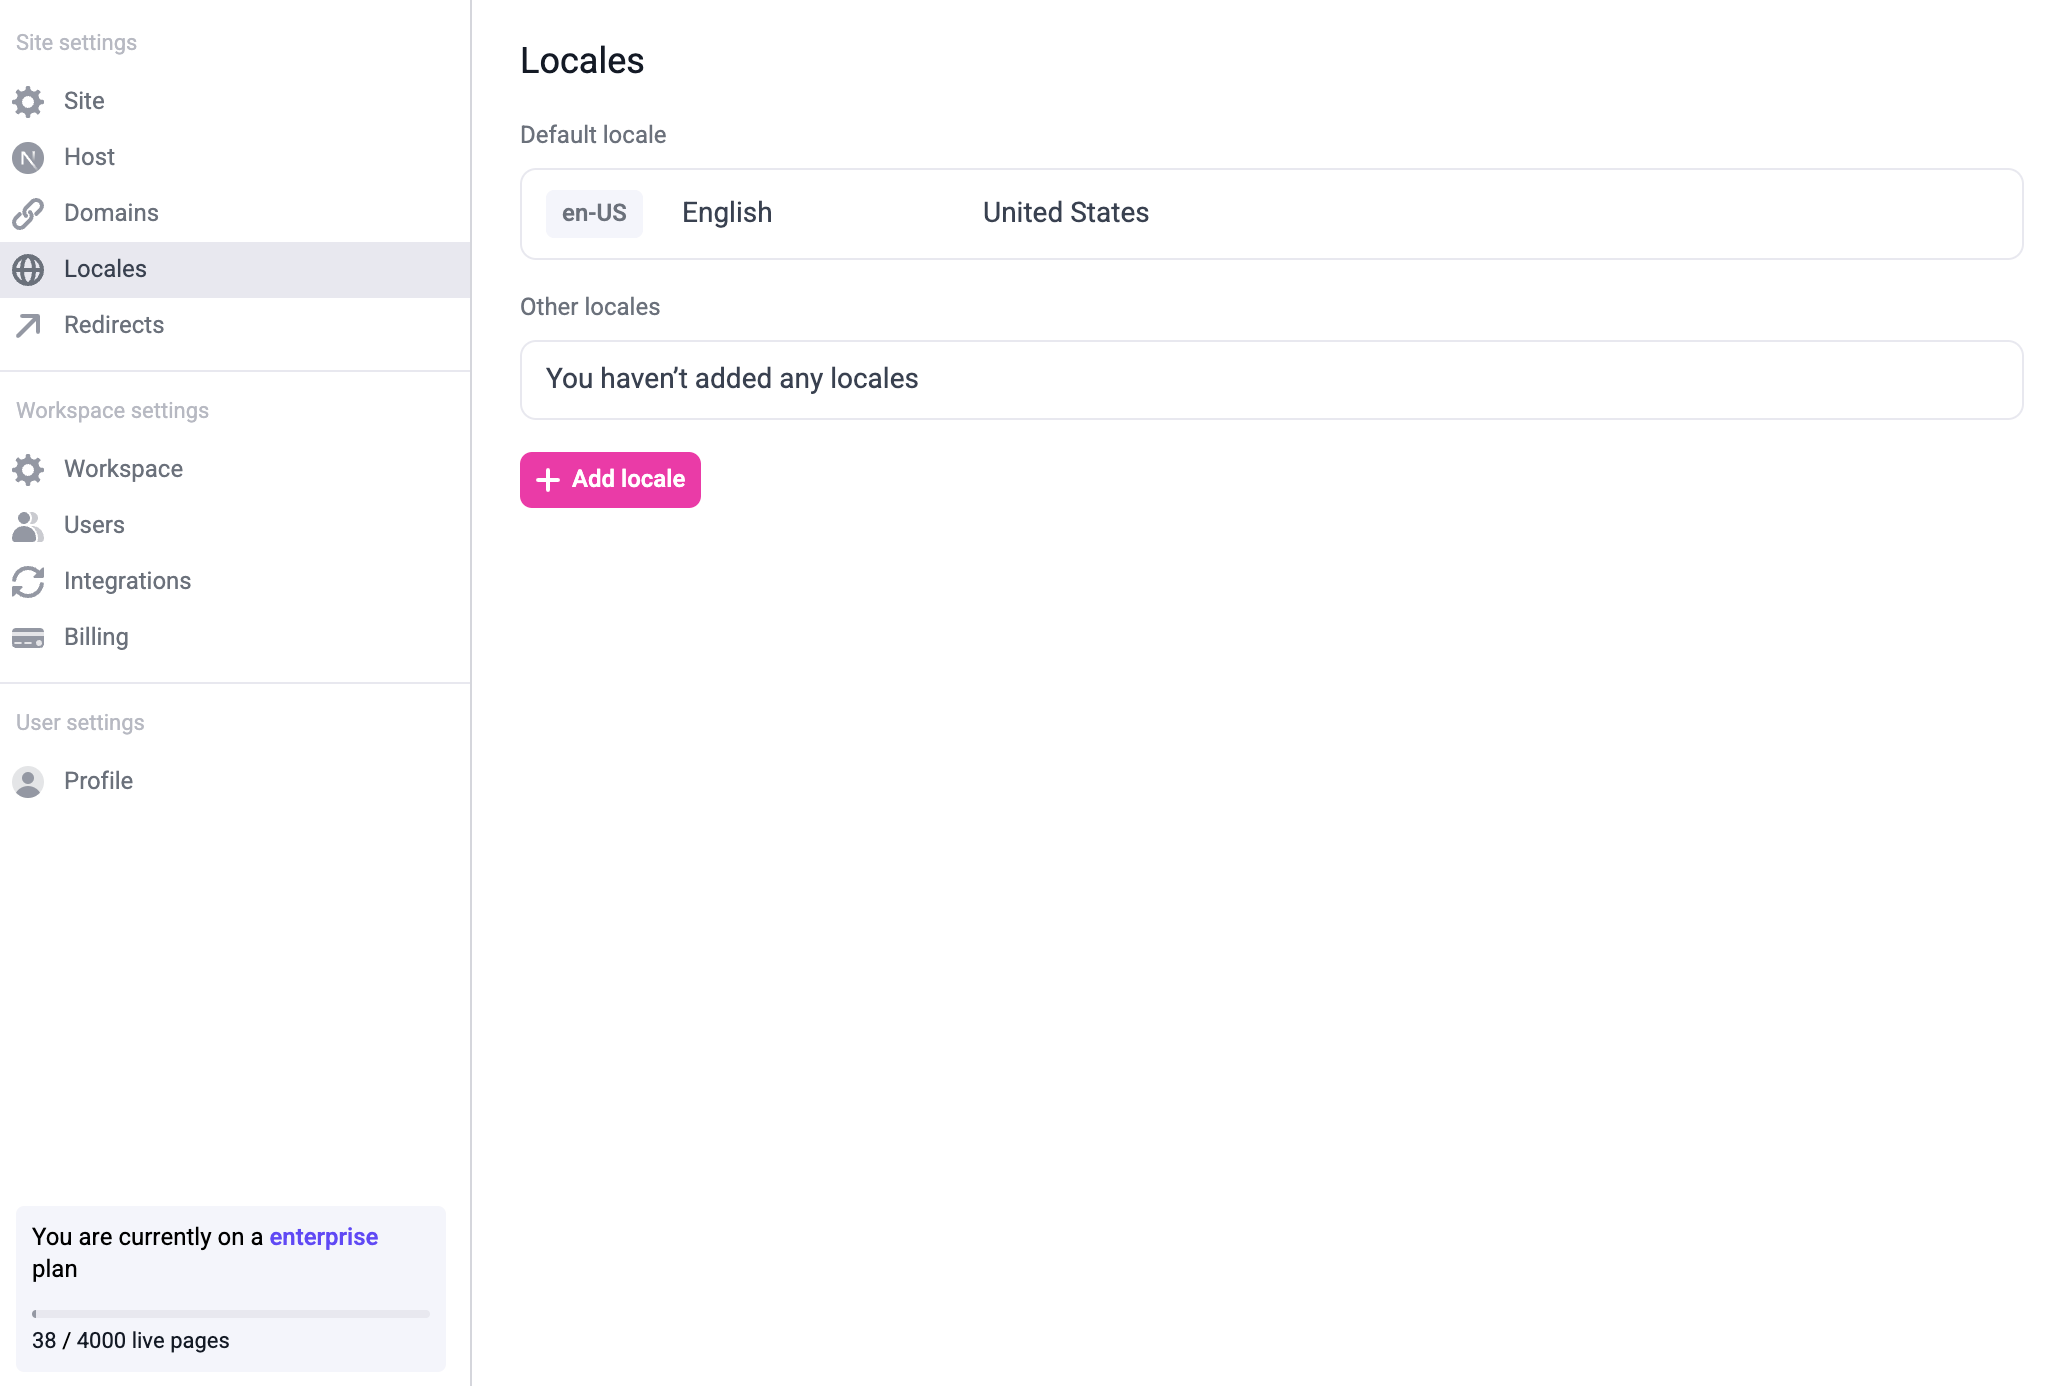 To add a new locale, click the ”+ Add locale” button. You can modify or delete existing locales by hovering over the locale:
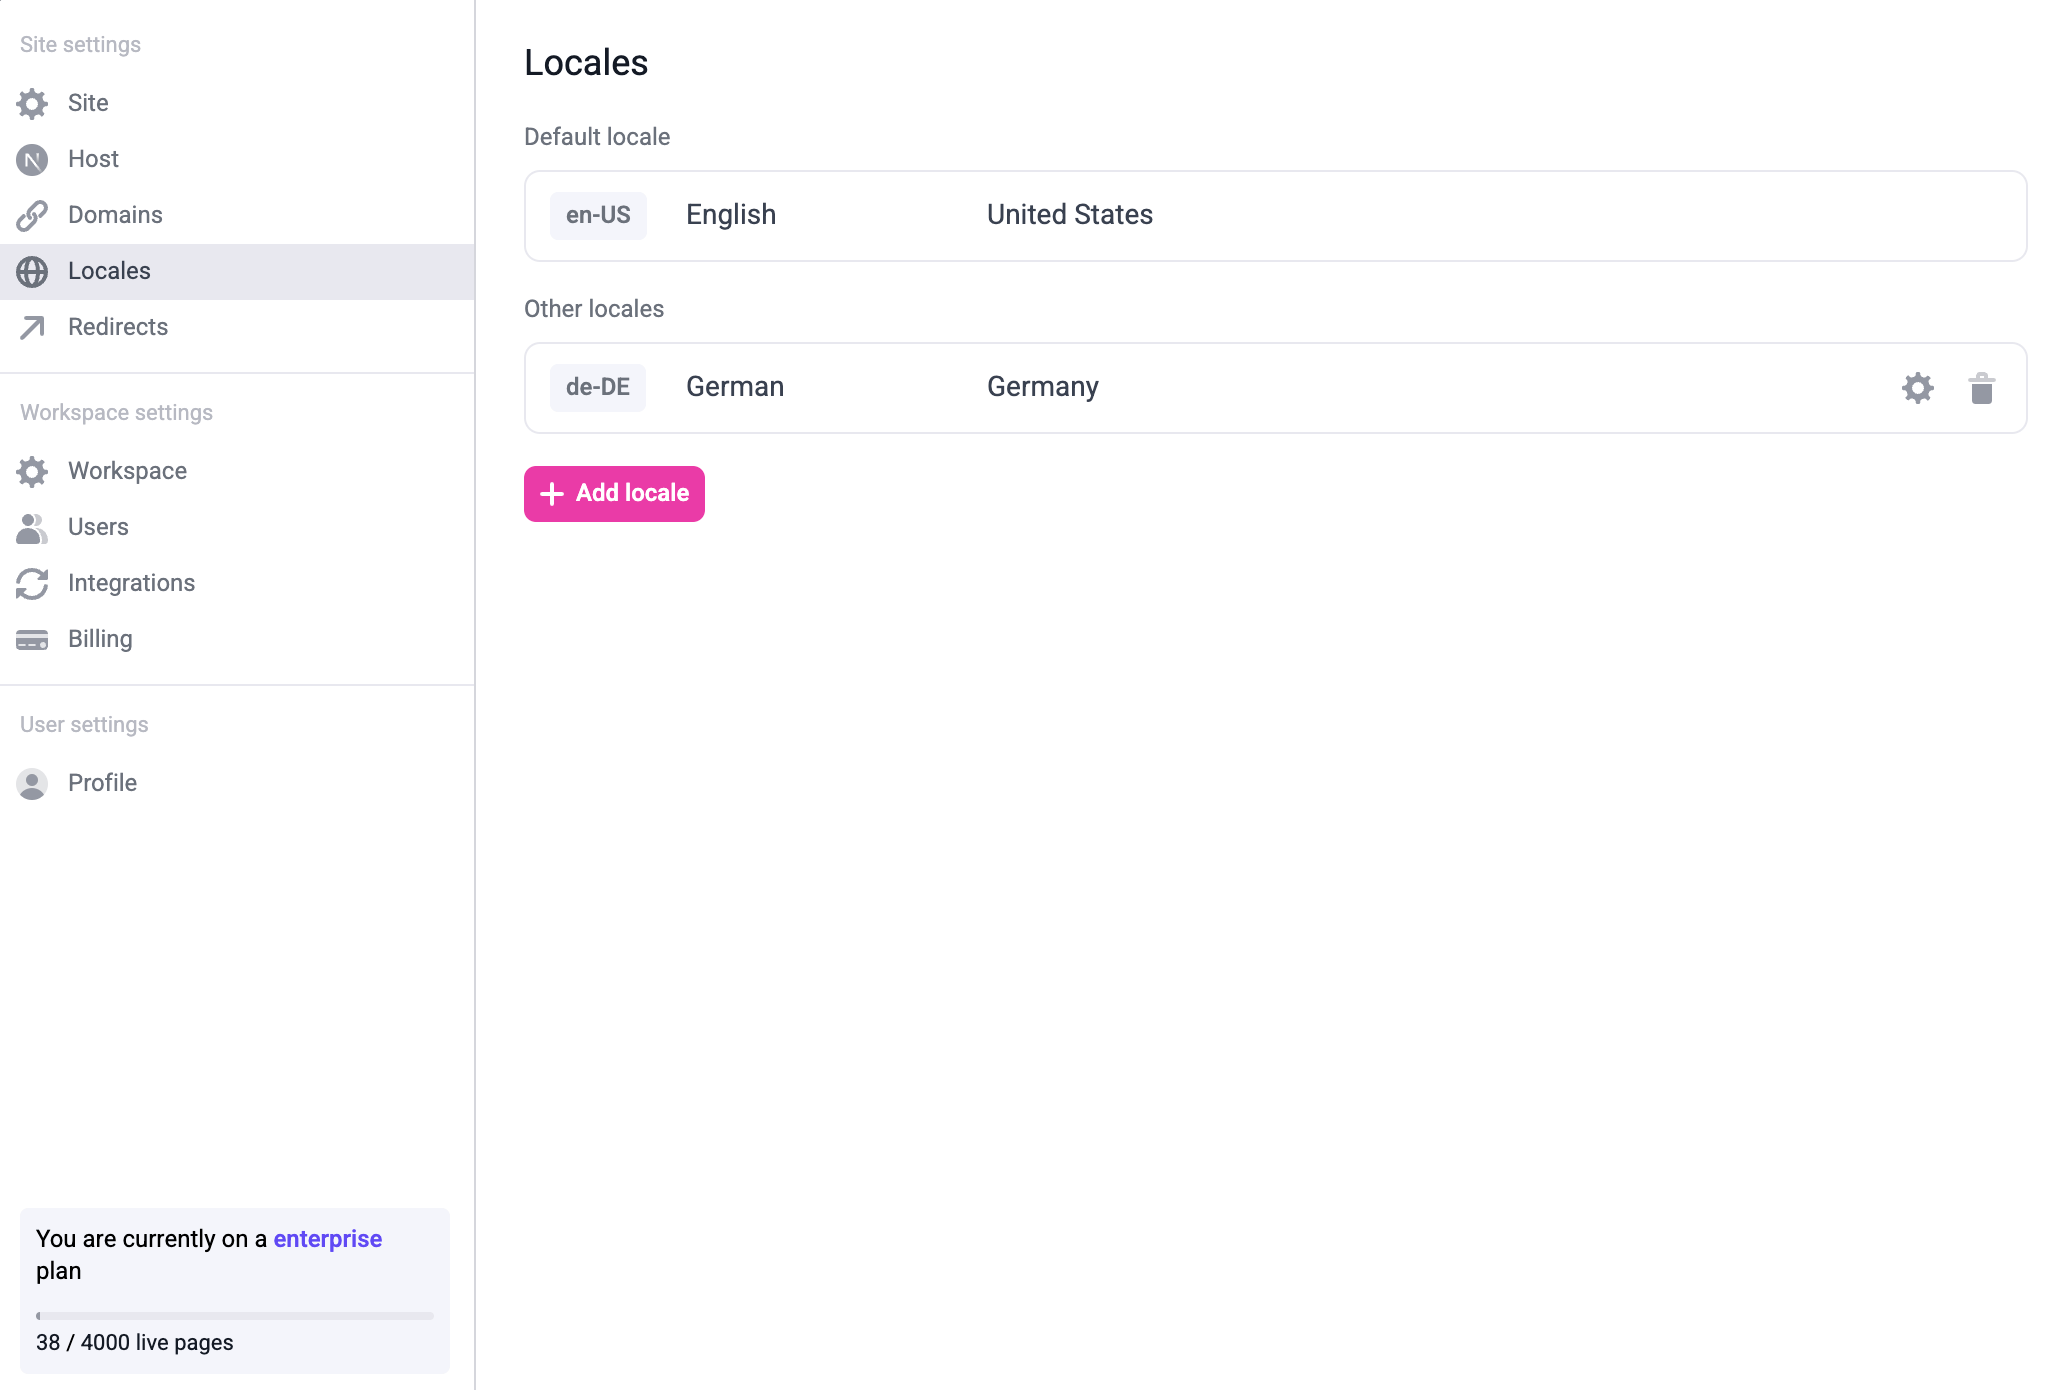 You can also modify the default locale by hovering over the default locale and clicking the edit button.Once you add all the locales you need, it might look like this:
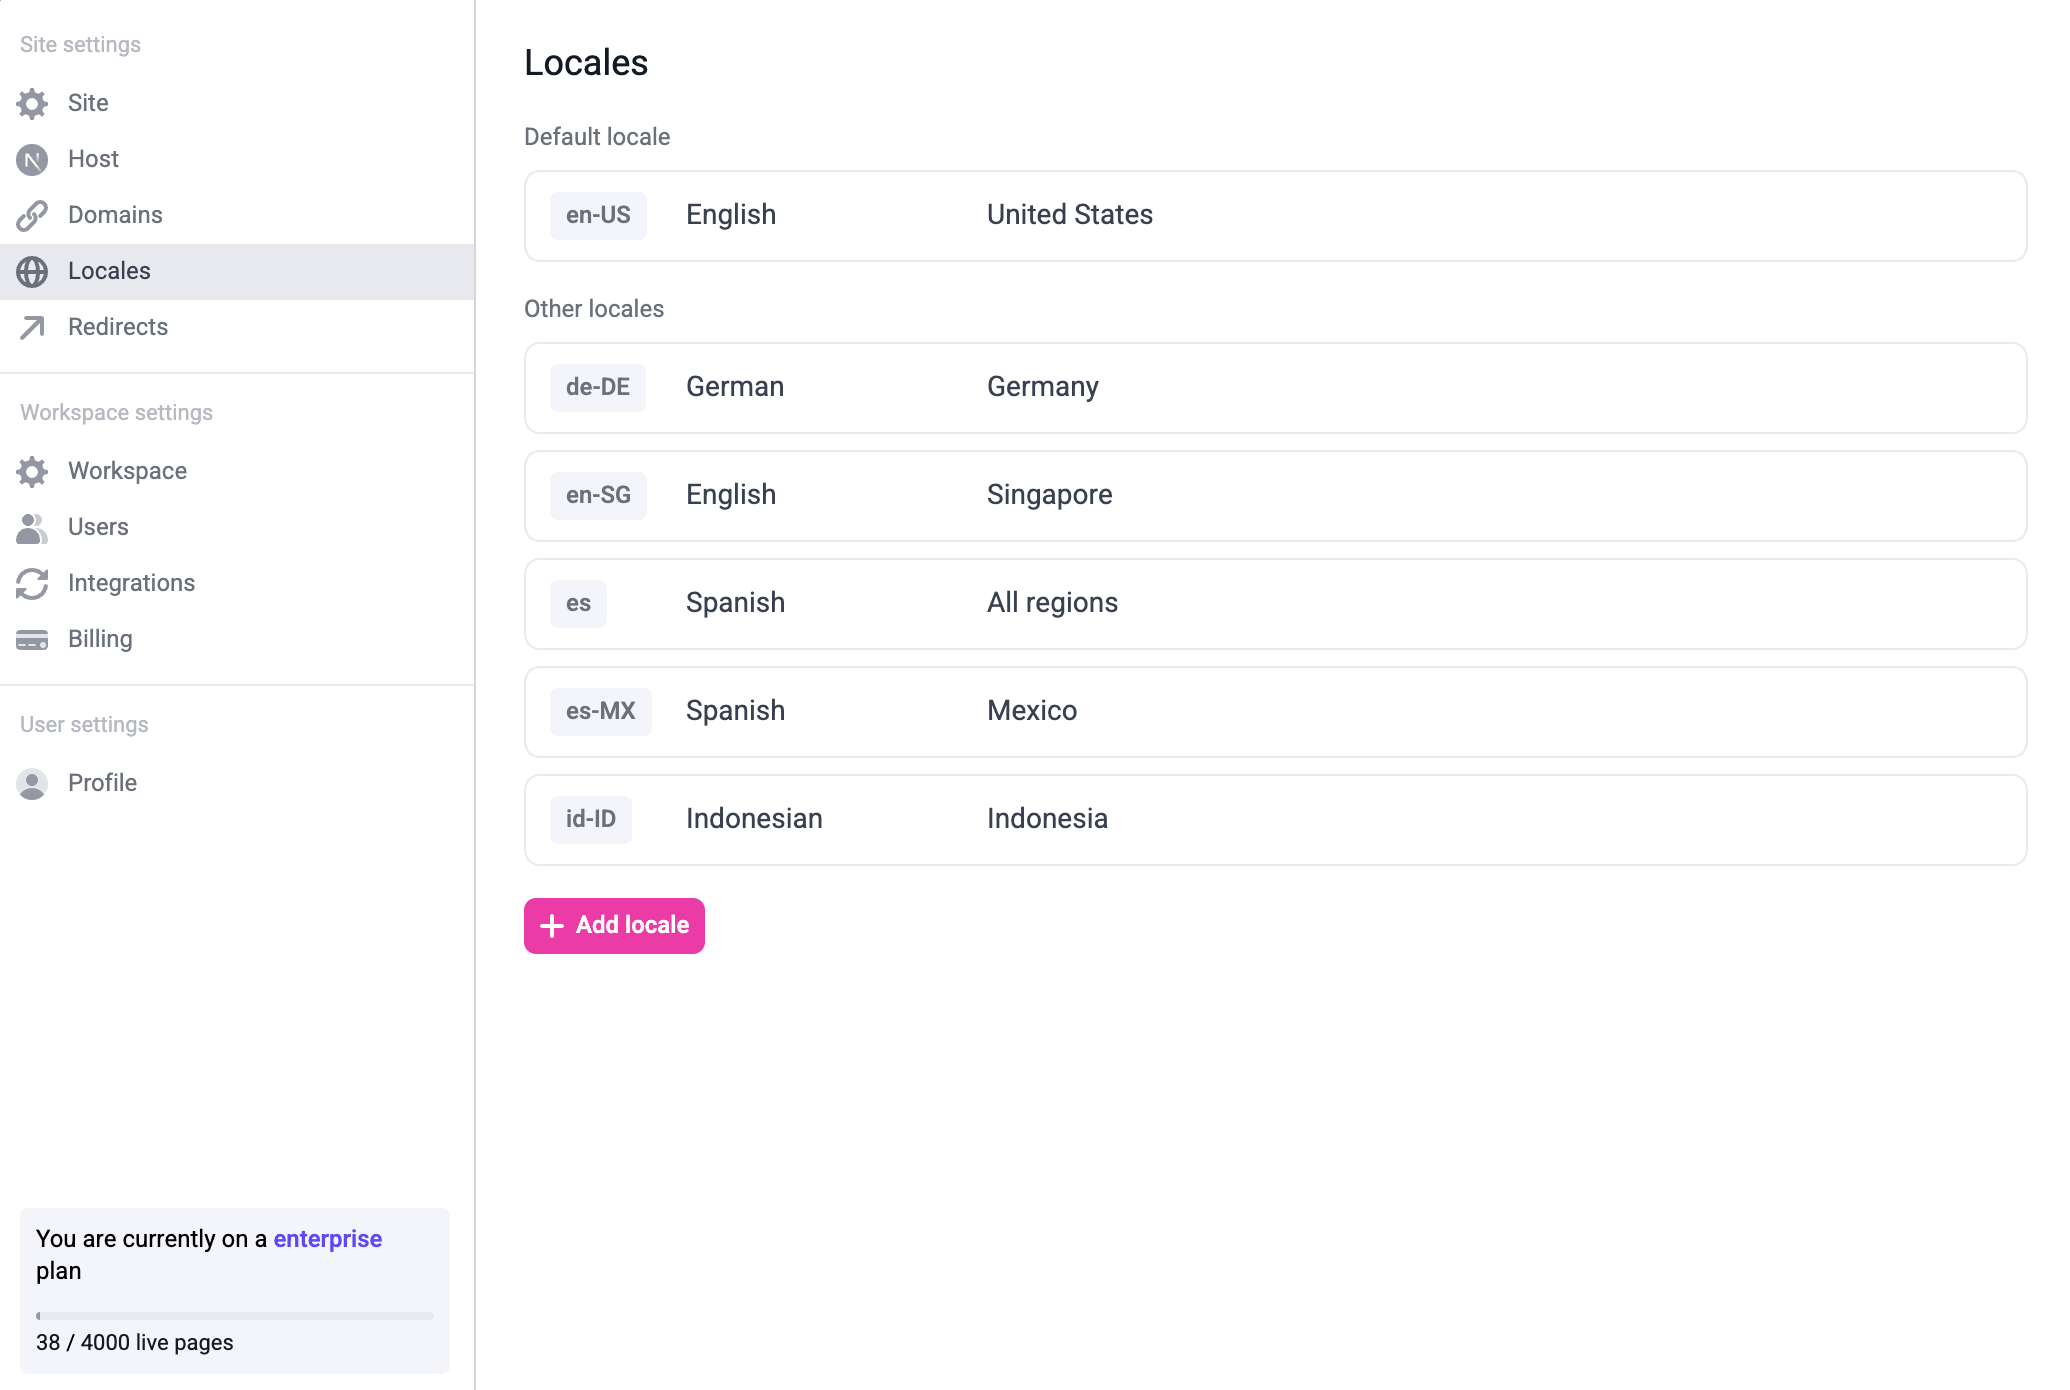
The number of locales you have access to is dependent upon your
plan. Refer to the pricing
page for full details.
Configure your Next.js app for localization
Follow the internationalization docs for app router and make sure that all routes except the Makeswift API handler are nested inside
/app/[lang].Fetch snapshot by locale
Update your catch-all route to fetch the snapshot by locale.
app/[lang]/[[...path]]/page.tsx
Edit your pages in the builder
Once you’ve set everything up, you should be able to switch to the locale using the locale switcher on the builder.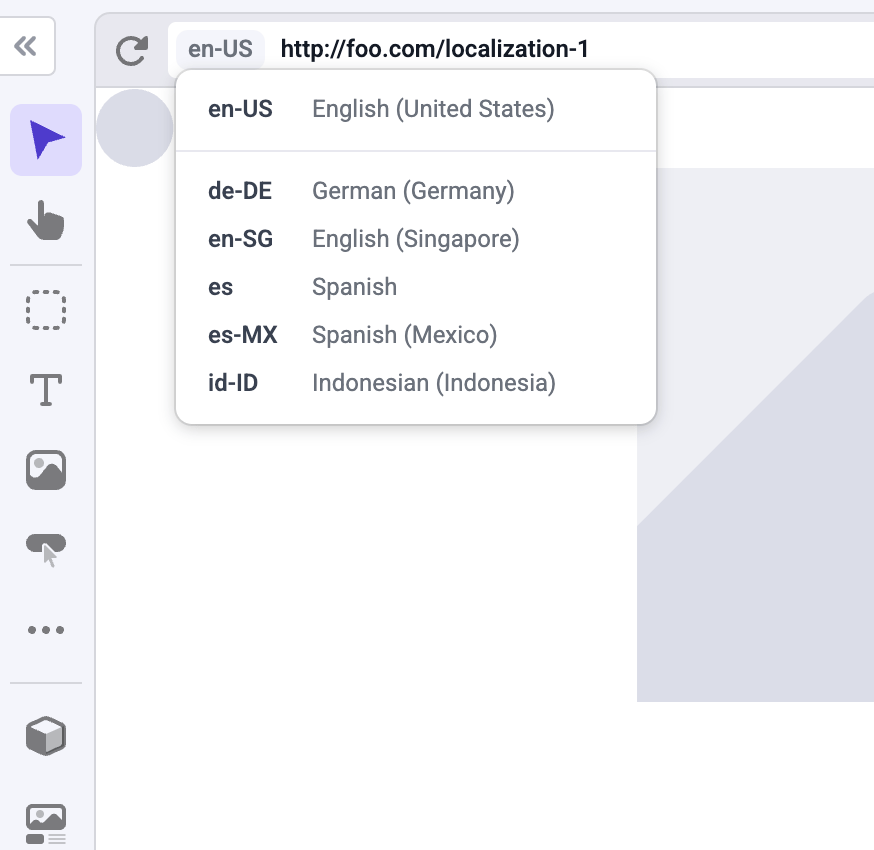
You can customize the path for each page in each locale. For example, if you have a company page at
example.com/company, you can create the Spanish version of the page at example.com/es/compania or example.es/compania.Domain-based localization
If you don’t provide a domain for a locale, the localized pages will be located on the same domain as the default locale, but nested on the locale’s path. For example,es pages will be located on example.com/es/page.
To use domain-based localization, just add the domain to the locale on your site settings:
example.es/page.